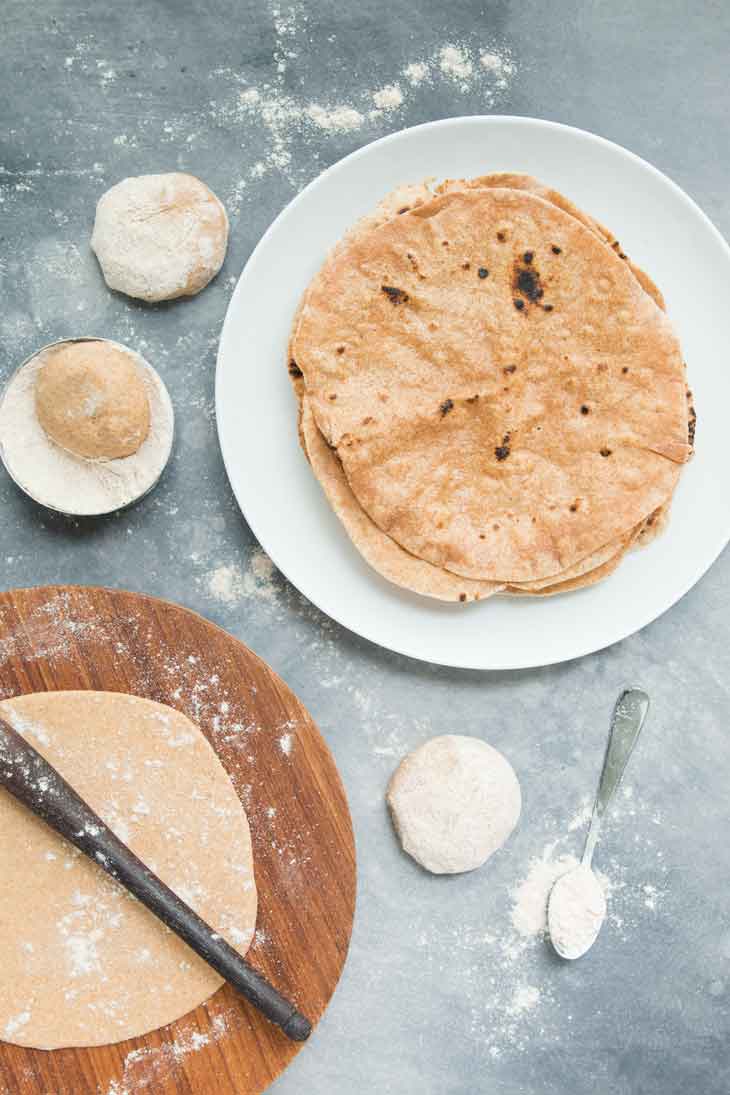
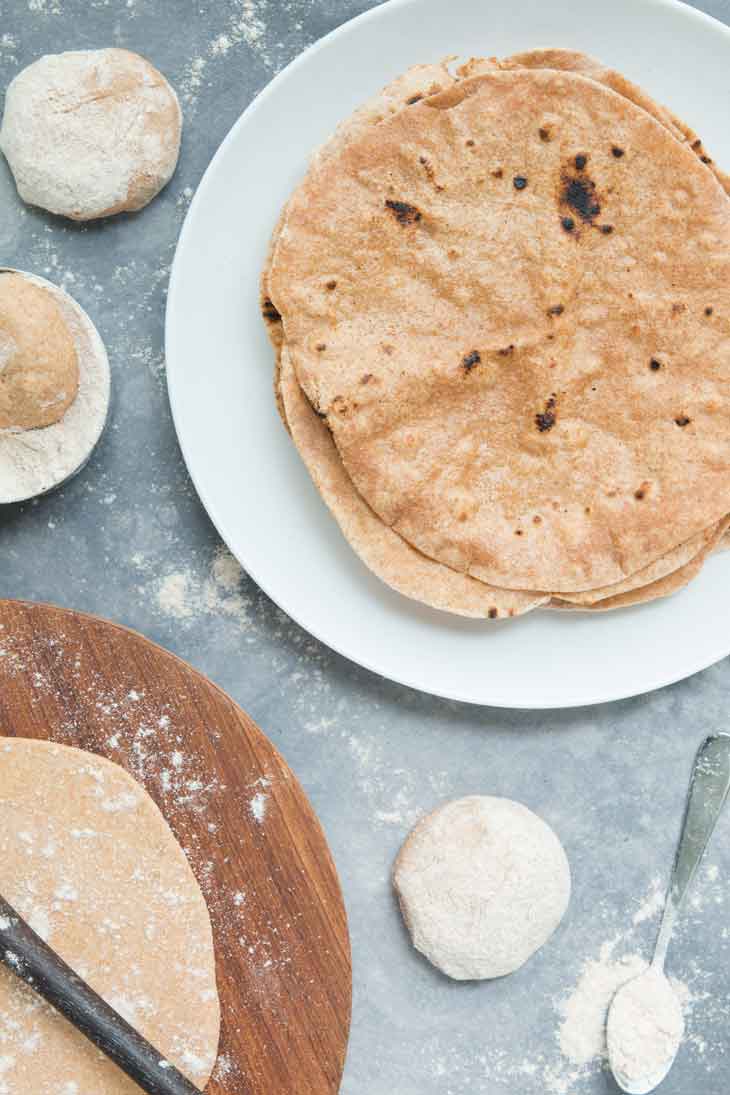
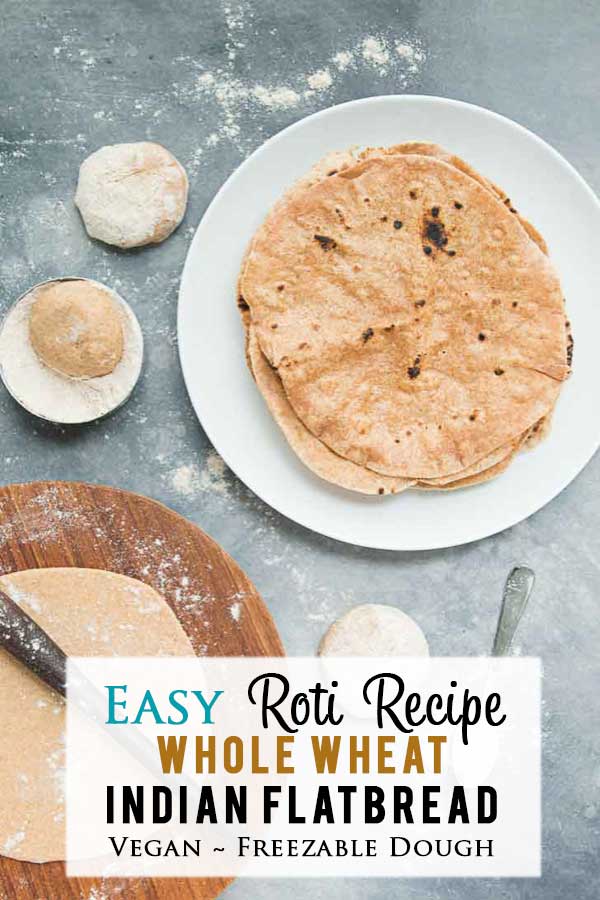
One of the best parts about Indian cuisine is the fresh homemade flatbread! So whether you’re an expert or just getting started, this easy Roti Recipe has great tips and tricks on how to save time and make the perfect roti at home!
This post was sponsored by Bob’s Red Mill, but the opinions and text are fully my own.
When you think of Indian food, the first thing that probably comes to mind is all the aromatic flavorful curries and daals!
But what ends up getting overlooked, and in fact is one of my favorite parts about the Indian cuisine, are all the different fresh homemade flatbreads to accompany these rich curries, vegetable sides, and lentils!
There are many different types of Indian flatbreads. Two of the more popular varieties are Naan and Roti (or chapati)!
What Is The Difference Between Naan & Roti?
Naan
Naan is a flatbread you’ll typically find being served at restaurants and is less common in homes. Naan is:
- made with all-purpose white flour
- leavened (contains yeast)
- cooked in a clay oven (tandoor)
- toasted, yet soft and chewy texture
Although you can find many store-bought pre-packaged vegan Naans, fresh Naan served at restaurants is not typically vegan and frequently contains dairy or eggs.
Roti (or Chapati)
Roti, or chapati, is the most common type of Indian flatbread, especially in the Northern parts of India. It’s typically:
- made with whole wheat flour
- unleavened
- rolled out very thin
- cooked on a flat griddle (tawa)
- soft and courser in texture
There are many different types of roti depending on how it’s cooked.
- Tandoori roti – cooked in a tandoor oven like Naan
- Roomali roti – rolled out extra thin and often used as a wrap
- Phulka roti – partially cooked roti, which is then fire-roasted
My favorite type of roti recipe is the one I grew up eating…phulka roti!
Phulka roti is cooked one side on a flat griddle, and the other side on a hot open flame. Due to the high heat, steam accumulates inside the roti and the bread puffs up like a ball (phulka).
Is Roti Vegan and Gluten-Free?
Roti consists primarily of whole wheat flour and water and is therefore vegan. I add a tiny bit of oil to the mix, but that’s it! Traditional roti is not gluten-free, but I’m working on perfecting one using rice flour or amaranth flour.
A Childhood Full Of Fresh Phulka Roti
Growing up, I used to eat fresh homemade phulka roti (or chapati) almost every day. My mom was always so quick at making the dough, rolling them into perfect round shapes, and cooking them stove-top.
Although I’d help her out quite often, I never cared to make the dough and would only occasionally try my hand at rolling them. I mainly helped with the cooking and loved watching them fluff up straight on the stove-top fire.
Of course, this was all in hopes that I’d be able to sneak a few fresh roti before dinner. There’s really nothing like the taste of freshly made warm roti.
Bringing Culture To My Kids Through Indian Cuisine
Fast forward 20 years, and I now have two kids of my own. I’ve always made it a point to introduce them to a variety of different cuisines at a very early age, and of course, that includes the Indian (mainly Gujrati) cuisine.
I generally love all sorts of foods. But as an Indian, born and raised in the US, it was important to me that my kids also learned to love Gujrati food and Indian cuisine as we did growing up.
How’d I go about doing this? I try and make Indian food, specifically Gujrati food, 2-3 times a week for dinner. Not only is most Gujrati food already vegan, but it’s also healthy.
I’ve always found cooking Indian curries, vegetables, daals, and rice to be fairly easy. I also have a few tips and tricks up my sleeve on how to make cooking Indian food EASY for all of you, which I’m hoping to share in another post.
But the one thing I’ve always hesitated/felt lazy about was making homemade fresh roti for dinner. Having to use my hands to make the dough every day, getting flour everywhere, figuring out how to roll without sticky dough…it all felt like a pain to do on a regular basis.
…that is…until about 2 years ago.
What changed? A little practice, but mainly a great easy roti recipe to streamline the process!
How Do You Eat Roti Flat Bread?
There are many ways to eat roti. Since they are thin and light, they are traditionally served alongside an Indian curry, vegetable side dish, or daal.
You can also roll the roti extra thin (roomali roti) and use it to make a wrap. My favorite stuffing is curried pan-fried tofu and peppers.
How To Make This Easy Roti Recipe – Step by Step
Which Flour Is Ideal for Making Roti?
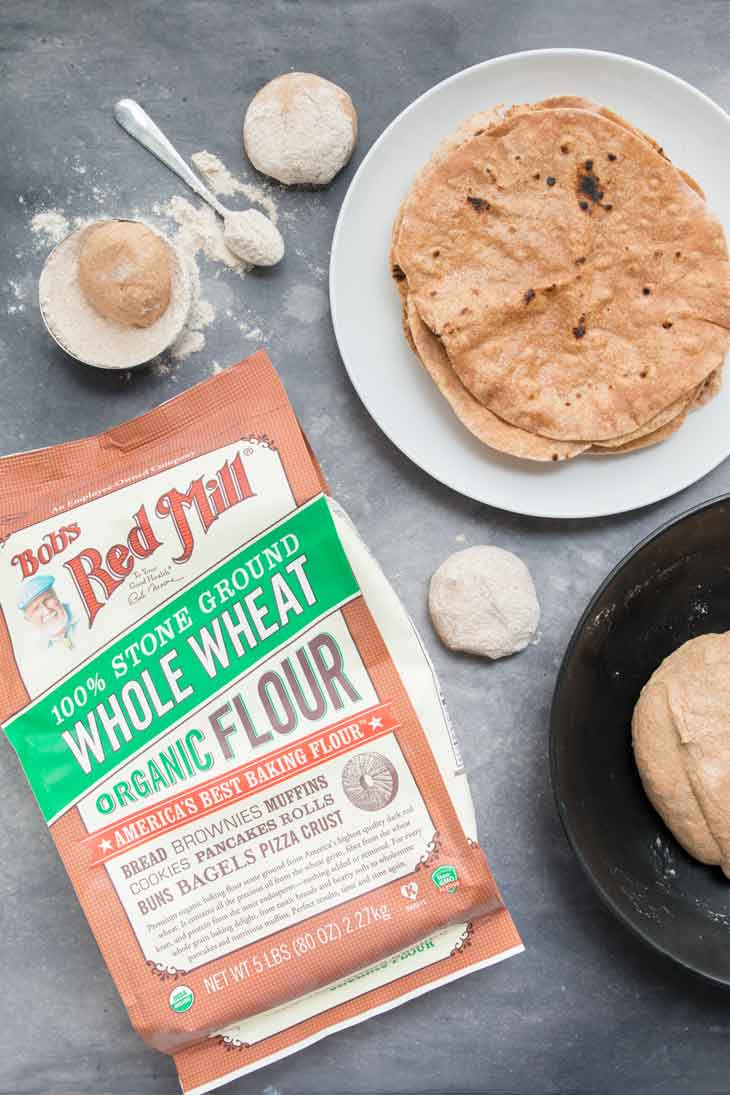
There are many whole wheat flours available at Indian grocery stores. But I personally love and trust the quality of Bob’s Red Mill 100% Stone Ground Organic Whole Wheat Flour.
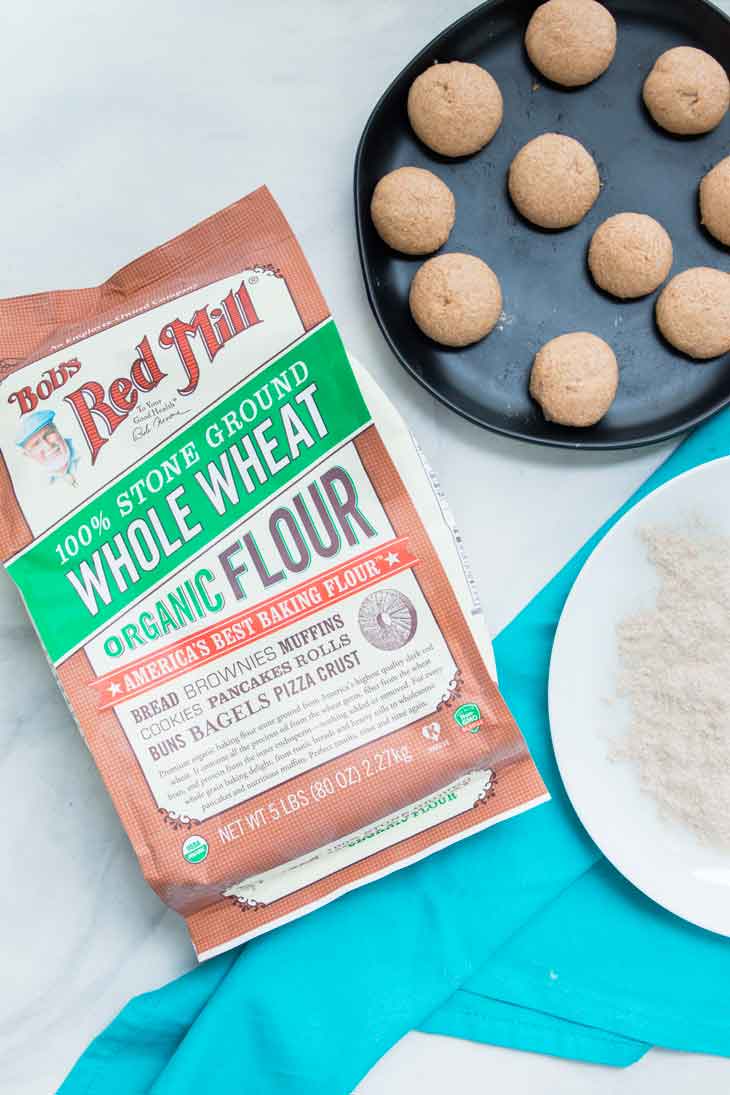
Even my mom, who has been making roti for ages and has used many different brands of whole wheat flours (including those from Indian grocery stores), completely switched over to using Bob’s Red Mill years ago because of the quality of their products.
How To Make Roti Dough
In order to guarantee soft roti, the dough should be soft, pliable, and not sticky.
To make roti dough, combine whole wheat flour, water, and a little oil. You can use your hands or a stand mixer (see below).
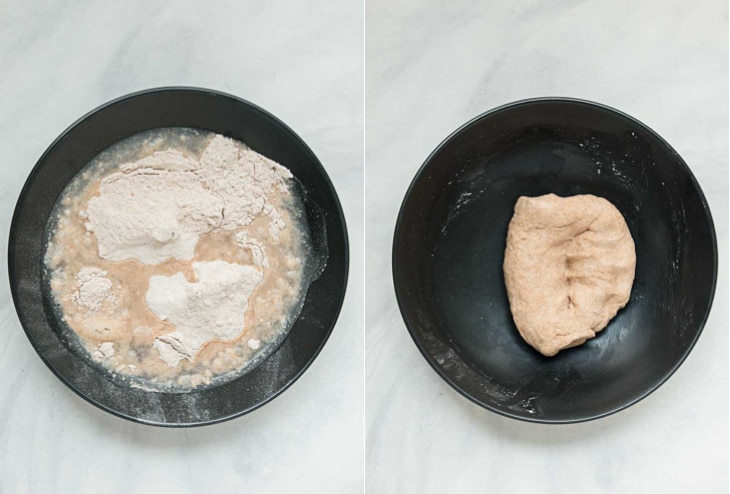
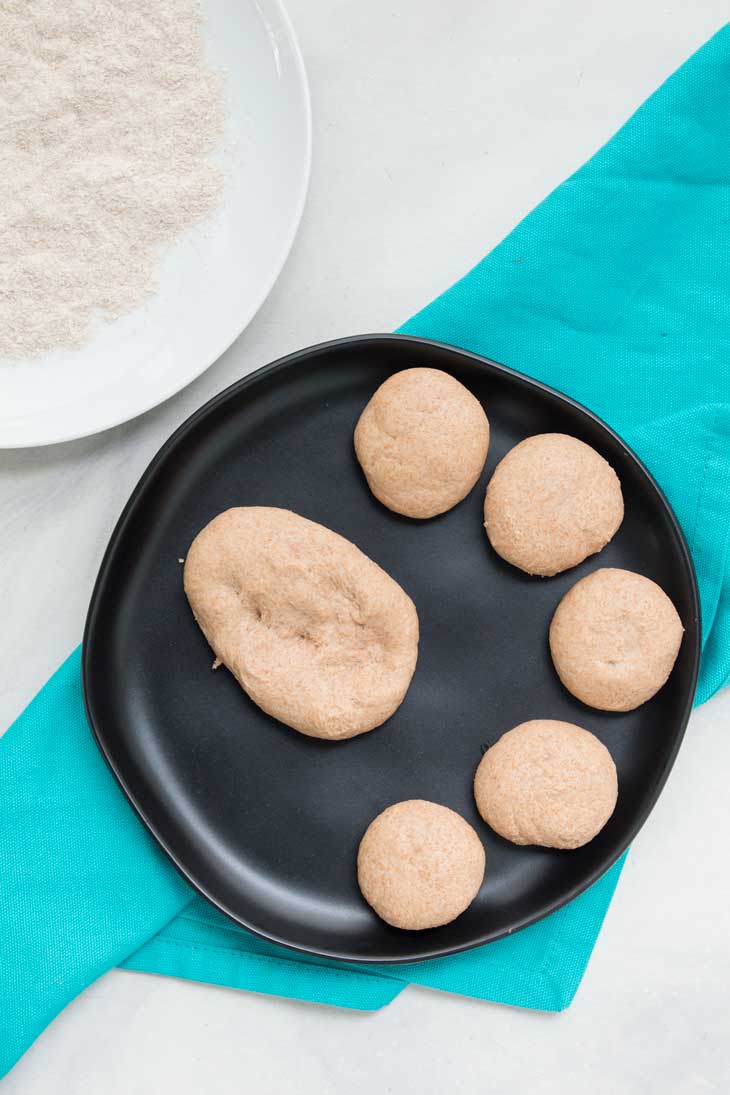
Once fully combined, knead for at least 5 minutes (or until dough is soft enough that it leaves an impression when pressed).
Then cover and set aside with a damp napkin or cloth for 10-15 minutes to proof. The longer you let it set, the softer the roti.
How To Roll Roti
Divide the dough into small palm sized portions. Be sure not to make them too large otherwise it’ll be difficult to roll out the roti.
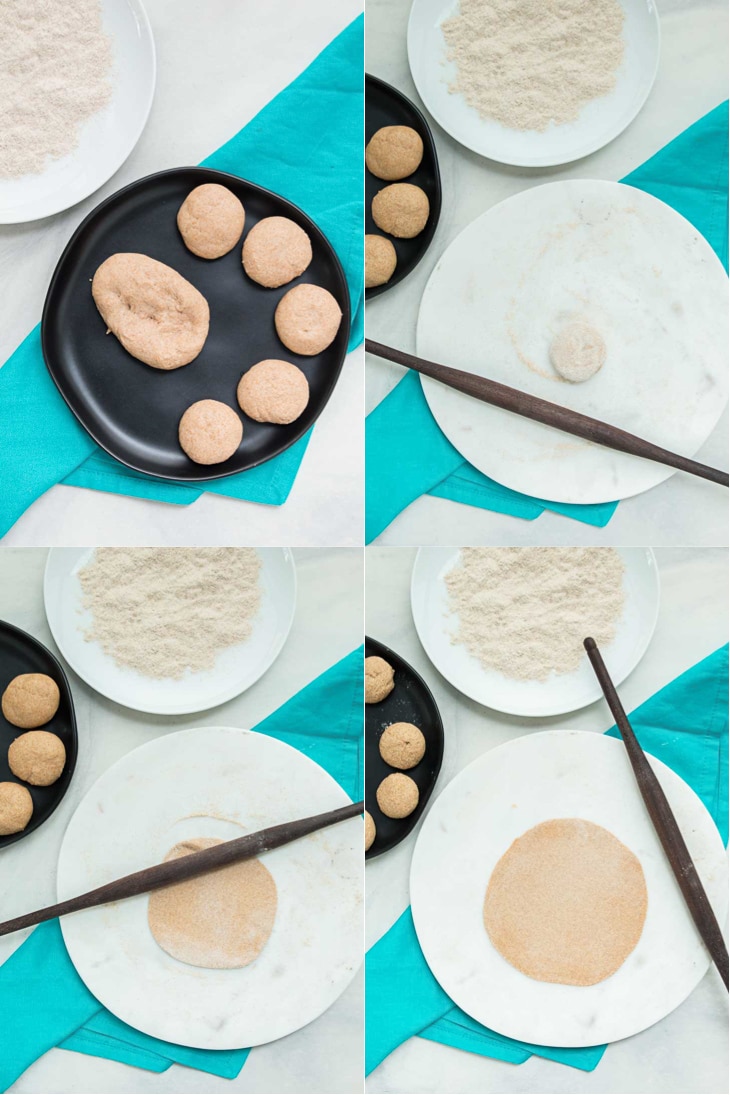
Use a wooden or marble rolling surface.
Roll each portion into a thin flat circular shape, using additional loose whole wheat flour to sprinkle on top and help avoid sticking while rolling.
How To Cook Roti
Remove excess flour and place the rolled roti flat on a medium-heated flat pan. Cook for about 10-20 seconds until small bumps start to form.
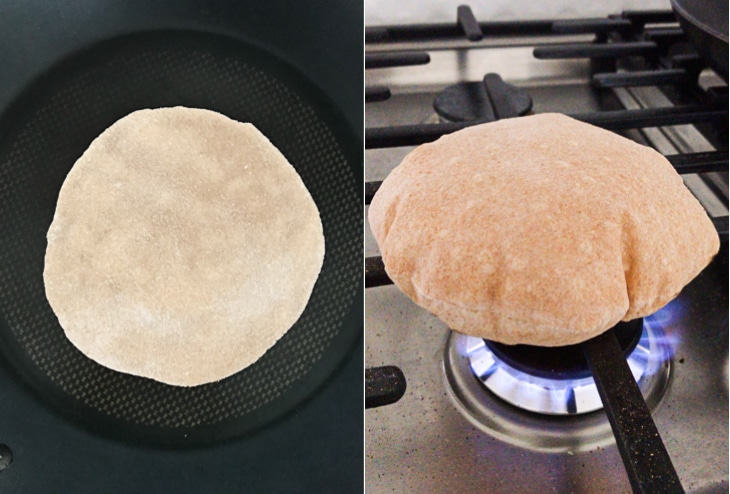
Flip and cook on the other side for about a minute until small brown spots start to form on the roti.
Now remove the pan from the heat, and flip the roti directly onto the open flame using tongs.
Allow the roti to fluff up.
Remove the roti straight into a container, apply some vegan butter to avoid drying, and let it cool. You can continue to stack the roti until they are all done.
How To Store Roti
Roti tends to get chewy and dry when left open and exposed. So be sure to spread a layer of vegan butter on the roti immediately after it’s done being cooked and keep them in a container.
Once all the roti are done and stacked together, close the lid 3/4-ths of the way, until ready to serve.
To freeze extra prepared roti, place in a sealed freezer bag with parchment paper in between separating each one. Once ready to serve, defrost and cook on low heat on a flat griddle on both sides until soft. Spread some vegan butter and serve.
How To Make This Roti Recipe Easier
My biggest issue with making fresh roti each day is the time, effort, and mess it takes to make the actual dough. I know my mom was always very quick with this step, and perhaps I’d get used to it too. But for now, it keeps me from making fresh roti.
The solution? Knead the dough and make large batches using a stand mixer!
- Make a LARGE batch of roti dough using my stand mixer
- Section it out so that there’s enough dough for making enough roti for one meal
- Freeze each section of dough in my favorite freezer containers or refrigerate for 1-2 days.
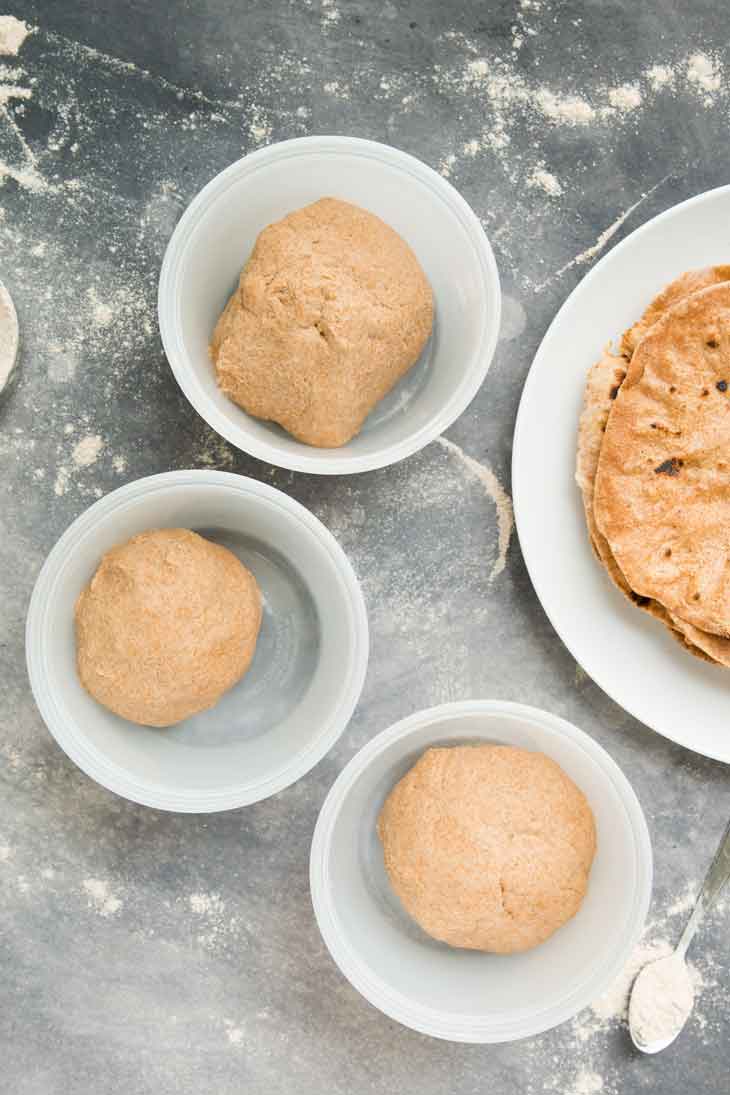
Then when you’re ready to use the dough,
- Place the frozen dough container in the fridge the day before making
- Allow it to defrost overnight in the fridge
- Pull the defrosted dough out of the container prior to rolling to allow it to get to room temperature
- Portion, roll, cook, and serve!
An added BONUS! After going through the process of freezing and defrosting, the dough is much easier to work with and roll!
To save time, I always make large batches of freezable dough in the stand mixer!
The key to making fresh roti is still all about practice! But the best part is that it doesn’t have to be perfect. Even though the steps are easy, I’ve tried to be as detailed and thorough as possible in the recipe below (hence the length of the recipe). If you follow this recipe and practice rolling, the roti will fluff up and taste great!
For More Vegan Indian Recipes, Check These Out:
- Cauliflower Tikka Masala
- Black Eyed Peas Curry (IP)
- 5-Ingredient Green Coconut Curry
- Green Bean Curry with Potatoes (IP)
- Curried Okra
- Vegetable Pulau
- Curried Black Lentil Daal
Roti Recipe (Indian Flatbread)
INGREDIENTS
For Dough:
- 1 cup Bob's Red Mill Organic Whole Wheat Flour , see notes below if using different brand
- 1 teasp oil , olive oil or avocado oil
- 1/2 cup water
For Portioning Dough & Rolling:
- 1/4 teasp oil
- Bob's Red Mill Organic Whole Wheat Flour , extra for rolling
INSTRUCTIONS
To Make Roti Dough:
- Add the ingredients for Dough above in a mixing bowl or stand mixer.
- Using your hands or the low setting on the stand mixer, fully combine all the ingredients until you form the dough.
- Knead the dough with your hands or stand mixer for at least 5 minutes (or until dough is soft enough that it leaves an impression when pressed).
- The resulting roti dough should be soft, pliable, and not sticky (see below for troubleshooting tips).
- Add an additional 1/4 teasp oil after kneading the dough and cover/massage it in once more.
- Cover the dough with a damp napkin or cloth for at least 15 minutes to proof the dough.
Setup Your Roti Rolling & Cooking Area:
- To setup the cooking area – You'll need a flat pan or griddle, and a set of flat tongs to finish cooking over the open flame (see notes below if you cannot cook on an open flame).
To Roll Roti:
- Divide the dough into small palm sized portions. Be sure not to make them too large (especially if this is your first time making roti), otherwise it'll be difficult to roll out the roti.
- Flour your working surface and rolling pin.
- Work with one dough portion at a time. Start by lightly covering the dough on both sides with flour. The easiest way to do this is to quickly press both sides of the dough into the plate of loose flour.
- Place the dough on your working surface. Flatten it slightly with the palm of your hands.
- Using the rolling pin, roll the dough into a thin circular shape. To avoid sticking while rolling, sprinkle a little loose flour. There are several ways to do this.
- If you are still practicing, the easiest way to roll out the roti, is to start in one direction, turn and rotate the roti with your hands several times while rolling so you create a circle. Continue doing this, using loose flour as needed to help avoid sticking while rolling.
- After some practice, if you slowly motion your hands in a circular motion, applying a little pressure, the roti will move in a circular motion while you roll it out. Again, this comes with a lot of practice so don't worry if this method doesn't work quite yet.
- The resulting roti should be a thin, flat, circular shape (see notes below).
To Cook Roti:
- Heat a flat pan on medium heat.
- Remove excess flour and transfer the rolled roti flat on a medium-heated flat griddle with your hands, being careful not to tear the roti.
- Cook for about 10-20 seconds until the color changes and small bumps start to form.
- Flip and cook on the other side for about 30 seconds or until small brown spots start to form on the roti side facing down.
- Now remove the pan from the heat, and flip the roti directly onto the open flame (lesser cooked side down) using flat tongs. See notes below on how to cook without open flame.
- If the roti was made properly, it should start to fluff up. Once it does, quickly move it around from side to side with your tongs and remove the roti straight into a container. Be sure not to char the roti too much while cooking, otherwise it'll be crispy instead of soft.
- Roti tends to get chewy and dry when left open and exposed. So apply some vegan butter to avoid drying, and let it cool. You can continue to stack the roti until they are all done.
- Repeat the rolling and cooking steps above with each portioned dough. Once you get the hang of it, you can start rolling the next roti while the previous one is cooking on the pan.
To Store Cooked Roti:
- Serving same day – Once all the roti are done and stacked together, close the lid 3/4-ths of the way, until ready to serve.
- Serving the following day – Close the lid completely once cooled, and leave out overnight at room temperature.
- To freeze extra cooked roti – Place in a sealed freezer bag with parchment paper in between separating each one. Once ready to serve, defrost and cook on low heat on a flat pan on both sides until soft. Spread some vegan butter and serve.
Easy Way To Make Freezable Dough Ahead Of Time – Stand Mixer Method:
- Add the dough ingredients to the stand mixer.
- Set the stand mixer to the low setting to combine and knead the dough.
- Once the stand mixer is done, add the additional oil to coat indicated above, knead once with your hand, and allow the dough to proof for at least 15 minutes covered.
- Section it out into large portions (enough for making the amount of roti you need for one meal).
- Freeze each section of dough in freezable containers and store in freezer, or place in the fridge for up to 1-2 days.
- To Defrost Dough – If possible, place the frozen dough in the fridge the day before making roti to allow it to defrost overnight. Be sure to pull out the defrosted dough and allow it to get to room temperature before making roti.
NOTES
- Sticky Dough – Too much water. Start with adding 1 tbsp of whole wheat flour at a time, kneading it into the dough, until it’s not sticky anymore.
- Hard or Tough Dough – Too much flour. Start with adding 1 tbsp of water at a time, kneading it into the dough, until it’s soft but not sticky.
- Sticking While Rolling – Use a good wooden or marble surface. Flour the surface before starting. If you find it’s starting to stick while rolling, stop and flip if necessary. Sprinkle some more flour on top and keep rolling.
- Shape Of Roti – Ideally, you want to work your rolling in a round circular motion to make the perfect round roti. But this only comes with practice. As long as the roti is evenly rolled and thin, it doesn’t matter what shape it is.
- Be sure to pre-heat the pan and cook on medium heat.
- Roti Does Not Fluff Up On Open Flame – The roti needs to be thin, evenly rolled, with no tears to fluff up. The process is very forgiving but if you can’t get the roti to fluff up, move it around with your tongs to cook quickly and remove from the flame. It’ll still taste good.
- Chewy and Dry Cooked Roti – The cause of this is either too much extra flour added while rolling, or allowing the roti to dry up after cooking. Try to shake off excess flour before placing the rolled roti on the pan to cook. Butter right after cooking, place them in one stack, and close the container once cooled completely.
- Hard Roti – The dough was not soft or pliable, the roti was cooked on too high heat, or there was too much flour added while rolling.
- I have only tried making large batches of roti dough to freeze in my stand mixer. You should be able to use your food processor but may still need to knead by hand after because of the sharp blades.
- Ideally, you want to transfer the frozen dough into the fridge the day before to allow it to defrost overnight. But if you forget, you can try to microwave the frozen dough in 10-15 second increments, kneading in between as it starts to get soft, until it gets to room temperature.



Reshana
Your rotis look great! Nothing like fresh warm roti with a slather of butter… YUM!
anjali
Yes!! You got that right…slather of butter. You should’ve seen my kids slathering on the vegan butter this past weekend haha! Hope you enjoyed the post!
Karan Grewal
I really enjoyed your post! Also, My biggest issue with making fresh roti, it takes lots of time. Mom is mom, she can do everything. But, this post will really helpful for me. Thanks for sharing.
anjali
Yes! “Mom is mom’…totally how I feel…they can totally do everything 🙂 this was my way of streamlining the process so my kids can also enjoy a similar type of childhood. Also, i never liked making the dough by hand haha…I know it doesn’t take too long, but having the dough ready to go in the freezer or using the stand mixer to make the dough really helps! The Bob brand i totally trust as well which is why i use it…it tastes like whole wheat which is what i look for 🙂 glad the post helped! If you try it out let me know!
Sreedevi
If you don’t have an open flame, get one of those round cooling racks and place on top of the electric hob (works on flat tops as well as coils). You can put the heat high and puff up the roti on this. My mom did this for years until they got a gas line hooked up to our house.
anjali
Thanks for the tip! That’s a great idea and good to know!
Tye
Can this recipe be made with white flour?
anjali
Yes absolutely. I’ve made it with white flour before several times, but the ratio of water and oil will be slightly different. Just adjust based on my tips and you’ll be fine!
An Meersschaut
Thanks for sharing your roti recipe ❤
It’s very easy to make and the taste is perfect.
I’m in India at the moment. Now I can make rotis almost as good as the Indians can. I only need more practice to roll the perfect round shape😄
Anjali Lalani
So glad this recipe helped!